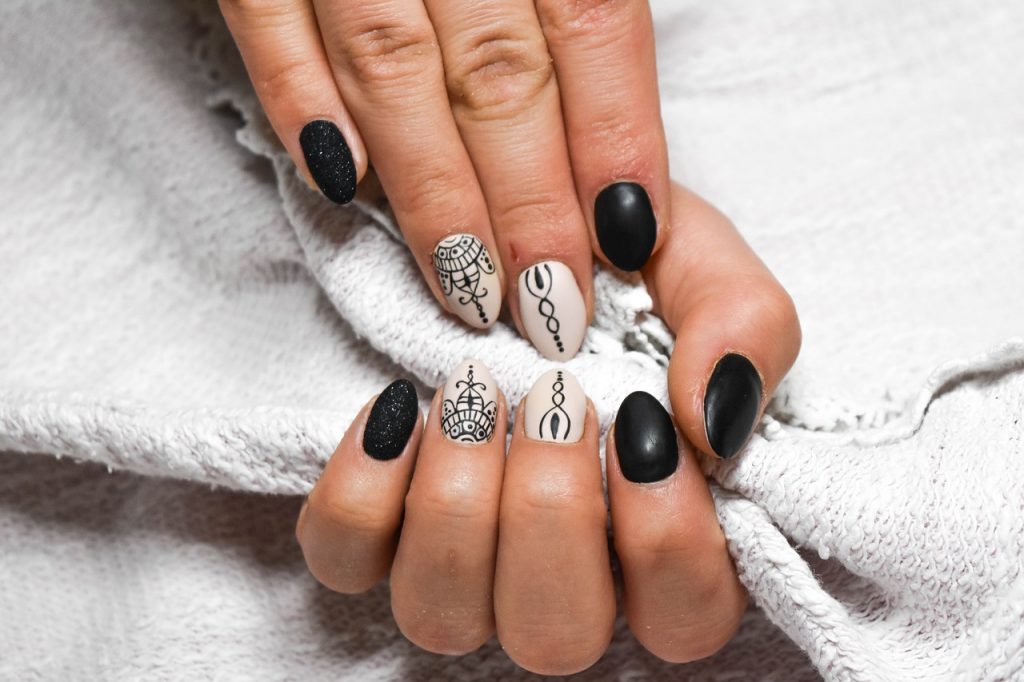
Hybrid manicure is the sign of a modern woman. Hands that are well taken care of contribute to your overall presence and elegance, which is why so many women are interested in learning how to achieve it themselves. You can, of course, visit a beauty salon to get a manicure done, but it is also something you can do by yourself and save money, as well as add another skill to your portfolio along the way. To help you start your journey, here are the seven steps on how to do your own hybrid manicure.
- Prepare All the Essentials
It is more helpful to start by assembling and preparing a working station for yourself. This way you will have everything you need within reach and make the process of successfully completing a hybrid manicure a lot easier. Here are the basics you will require:
- a wooden stick to push cuticles back,
- nail clippers,
- glass file,
- polisher,
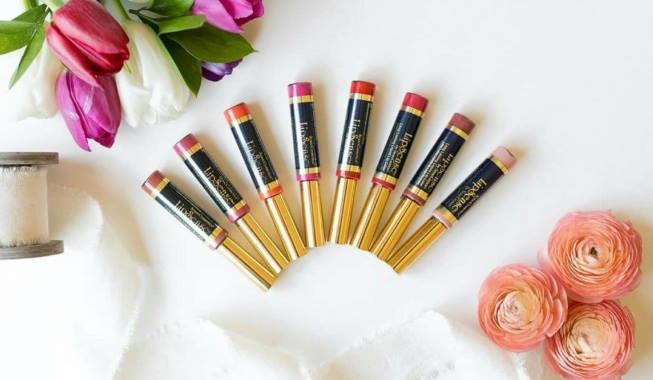
- top and base coat nail polish,
- colour nail polish,
- nail polish remover,
- UV or LED lamp.
It might seem like a lot of equipment to paint your nails, but overtime you will get your money’s worth. You might even paint your friends nails, and it might become an additional source of income for you in the future.
- Get Your Nails Ready For a Manicure
Once you have everything you need for hybrid manicure, it is time to prepare your nails for the treatment. Start with washing your hands and drying them completely. Next, use the polishing block and nail file to cut your nails to the desired shape. Then, push the cuticles back to create the perfect surface for nail polish and move on to the next step.
- Apply the Base Coat
Before you apply any kind of nail varnish to your hands, please note that there are a couple of rules on how to do it. Each layer of nail colour gel polish should be really thin, so that it is long-lasting. You shouldn’t paint your cuticles, as it looks rather unprofessional and untidy. You can’t clean/wash your hands between adding the layers of nail polish. Lastly, after applying a layer on the nail, paint the free edge of the nail gently with an almost dry brush.
Now that you know the rules, apply the base coat to strengthen your nails and protect them from being discoloured by the colour hybrid nail polish.
- Dry Your Nails With a UV Lamp
After each layer of hybrid nail polish, you need to put your hand under a specialistic UV or LED lamp for around 120 second to ensure that the nail polish is dry, and you can apply the next layer.
- Hybrid Nail Polish – Colour
The next step is to paint your nails with the colourful nail varnish. For colour, you can go for one layer or two, depending on the formula of your nail polish or the intensity of colour you are looking for. You can also add some creative details/patterns to your nails, but that will require some more equipment and experience.
- Apply the Top Coat
To finish your painting process, you will need to apply the top coat, which will protect your nails from any mechanical damage. Remember to dry the final layer under the lamp.
- Wash Off the Adhesive Coating
Your hybrid manicure is almost ready, all you have to do now is to take a cotton swab moistened with a liquid cleaner to wash off the adhesive layer, and now the process is complete. You are officially an owner of the perfect nails.
Hybrid manicure is a treatment that you can perform by yourself at home. There are only seven steps in order for you to achieve aesthetically pleasing and functional nails. It will take some time to perfect this craft, but it is so worth it. Good luck with your new DIY project.